.png?width=300&height=300&name=Untitled%20design%20(6).png)
This article explains how to update the Auto Batch Start and End Times for PAX A-Series terminals using the Omaha application. Before making changes, ensure the current batch is closed to avoid settlement issues.
1. Manually Close the Current Batch on the Terminal
-
On the Omaha application home screen, tap Func (located next to the Credit option).
-
Select Batch.
-
Tap Batch Close to manually settle the current batch.
2. Locate the Terminal in Paxstore
-
Log in to Paxstore.
-
Search for the terminal you are updating.
-
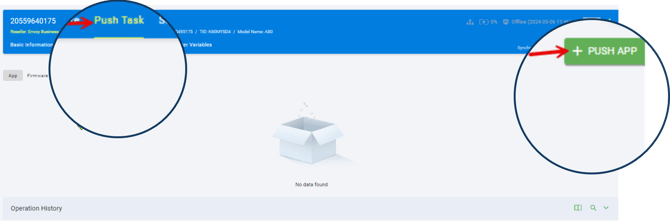
Click Push Task.
-
Select Push App.
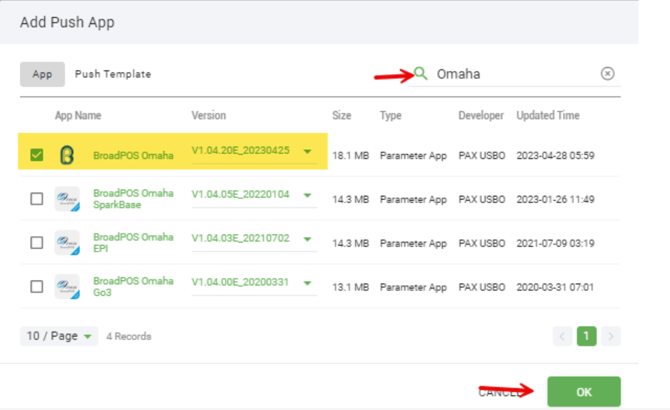
3. Select the Omaha Application
-
In the Push App pop-up window, type Omaha and press Enter.
-
From the results, select the most recent version of BroadPOS Omaha.
-
Click OK.
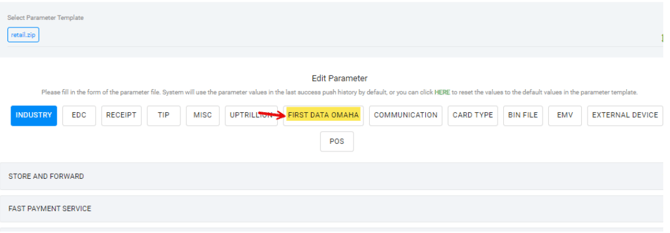
4. Update Auto Batch Times
-
Navigate to the First Data Omaha tab.
-
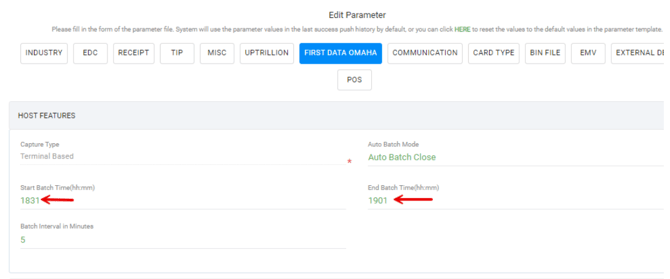
Under Host Features, locate the fields for Start Batch Time and End Batch Time.
-
Enter the updated batch times using military time.
Important Time Entry Rules

-
The End Batch Time must be 30 minutes later than the Start Time.
5. Push the Update

-
Scroll to the bottom and click Next.
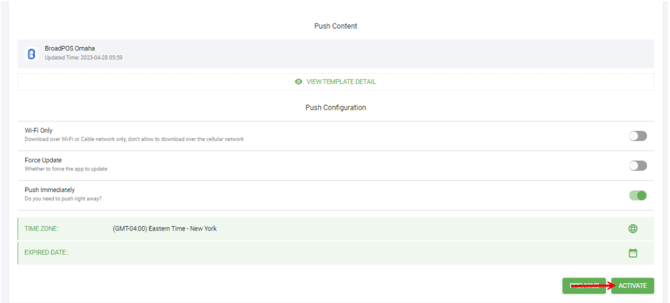
-
Select Activate.

-
Wait for confirmation that reads “Push Task Succeeded.”
Once this message appears, the new Auto Batch Time has been successfully applied to the terminal.